Find your level
Learn calisthenics skills in this order: push-up, pull-up, L-sit, pistol squat, handstand, muscle-up, front lever, planche. The first five are beginner skills most people reach within 3 to 6 months. The muscle-up and front lever need about 10 strict pull-ups first, and the planche comes last.
Go down the list. The first skill you cannot do yet is the one to train now.
| # | Skill | Level | Start when you can do | Typical time |
|---|---|---|---|---|
| 01 | Push-up | Beginner | None. Start at the wall | 3–6 months to 30+ reps |
| 02 | Pull-up | Beginner | None. Start with hangs | 3–6 months to 10 reps |
| 03 | L-sit | Beginner | 10 strict push-ups | 4–8 weeks |
| 04 | Pistol squat | Beginner | Full-depth bodyweight squat | 2–4 months |
| 05 | Handstand | Beginner to intermediate | Pain-free overhead shoulders and warmed-up wrists | 2–4 months to first holds |
| 06 | Muscle-up | Intermediate | 10 strict pull-ups and 8+ dips | 3–9 months |
| 07 | Front lever | Intermediate | 10+ pull-ups and a strong hollow body hold | 6–18 months |
| 08 | Planche | Advanced | 20+ push-ups and solid pseudo planche push-ups | 18 months to 4 years |
Times are coaches' typical estimates with consistent training, counted from the point you meet the starting requirement. Your bodyweight, training history and consistency will move them in either direction.
How to use the progressions
- Work on two or three skills at a time. One push, one pull, and optionally a balance skill such as the handstand.
- Train three days a week with a rest day between sessions. Practice balance skills in short sessions three to four times a week.
- For reps, move on at 3 sets of 8. Start a new step at 3 sets of 5 and build up.
- For holds, train at 60 to 70% of your best time. If your best static hold is 12 seconds, do 4 to 5 holds of about 8 seconds.
- Use slow negatives to reach a step you cannot do yet. Lower for 3 to 5 seconds at first, then 7 to 10 seconds.
- Keep the form strict. If the next step breaks your form, stay on the current one a little longer.
Push-up progression
The push-up progression goes wall push-up, incline push-up, full push-up, diamond push-up, then pseudo planche push-up. Stay on each step until you can do 3 sets of 8 clean reps, then move to the next one.
- Start when you can do
- None. Start at the wall
- Typical time
- 3–6 months to 30+ reps
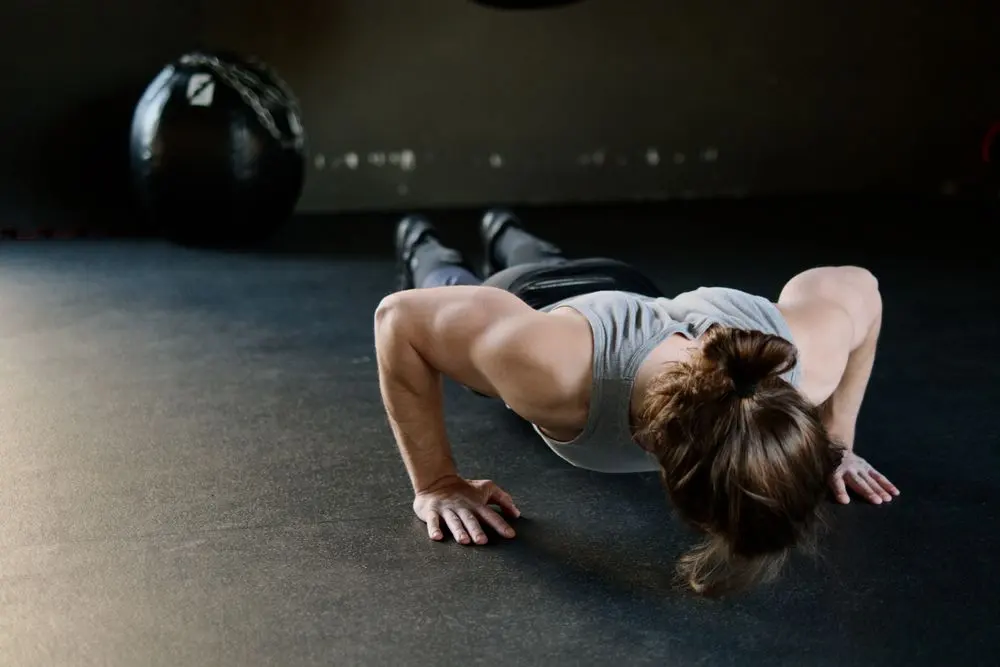
Push-up progression steps
- Wall push-up Hands on a wall, body in a straight line. Move on at3 × 8
- Incline push-up Hands on a bench or bar. Lower the surface as you get stronger. Move on at3 × 8
- Push-up Chest to the floor, elbows locked at the top. Move on at3 × 8
- Diamond push-up Hands together under the chest. Move on at3 × 8
- Pseudo planche push-up Hands by the hips, shoulders leaning ahead of the wrists. Move on atOngoing: lean further
Example push-up workout
| Exercise | Sets |
|---|---|
| Your current push-up step | 3 × 5–8 |
| Slow negatives of the next step | 2 × 3 (5 seconds down) |
| Plank | 3 × 30 seconds |
- Does it build real strength? Yes. In a 4-week study, men who trained progressively harder push-up variations three times a week increased their bench press 1RM, just as the group training the bench press did.
- Keep a straight line from head to heels. If your hips sag, go back one step.
Pull-up progression
The pull-up progression goes scapular pull, arch hang, negative pull-up, then full pull-up. If you cannot do one yet, slow negatives are the key step: most people get their first pull-up once they can do 3 sets of 3 negatives lasting 7 to 10 seconds each.
- Start when you can do
- None. Start with hangs
- Typical time
- 3–6 months to 10 reps
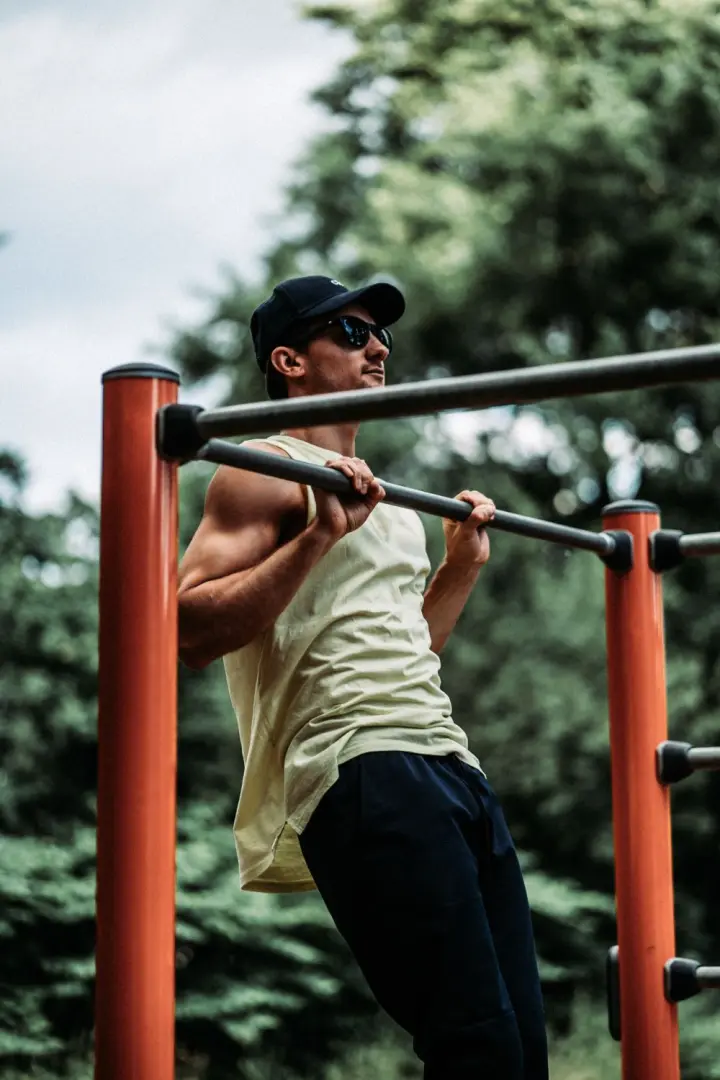
Pull-up progression steps
- Dead hang Hang from the bar with straight arms. Move on at3 × 30 seconds
- Scapular pull From a hang, pull the shoulders down without bending the arms. Move on at3 × 8
- Arch hang Pull the chest up toward the bar with straight arms and hold briefly. Move on at3 × 8
- Negative pull-up Jump to the top, then lower as slowly as you can. Move on at3 × 3 (7–10 seconds each)
- Pull-up Dead hang to chin over the bar. Move on at3 × 8
- Weighted pull-up Add load with a belt or vest. Move on atOngoing: add weight
Example pull-up workout
| Exercise | Sets |
|---|---|
| Negative pull-up (or pull-ups if you have them) | 3 × 3 negatives, or 3 × 5–8 |
| Australian pull-up (row) | 3 × 5–8 |
| Dead hang | 2 × 20–30 seconds |
- Stop sets early. In an 8-week study of trained men, the group that ended each pull-up set well before failure improved strength and max reps, while the group that pushed deep into fatigue did not improve.
- Already past 8 reps? Use the weighted pull-up 1RM calculator to pick your loads.
L-sit progression
The L-sit progression goes foot-supported L-sit, one-leg foot-supported, tuck L-sit, one-leg L-sit, then full L-sit. Start each step with 5-second holds and build to 30 seconds before moving on.
- Start when you can do
- 10 strict push-ups
- Typical time
- 4–8 weeks

L-sit progression steps
- Foot-supported L-sit Hands on parallettes or the floor, heels resting on the ground, shoulders pushed down. Move on at30 seconds
- One-leg foot-supported Lift one leg off the floor, swap sides. Move on at30 seconds per side
- Tuck L-sit Both feet off the floor, knees to chest. Move on at30 seconds
- One-leg L-sit One leg straight, the other tucked. Move on at15–20 seconds per side
- L-sit Both legs straight and level with the hips. Move on atBuild to 30 seconds
Example L-sit workout
| Exercise | Sets |
|---|---|
| Your current L-sit step | 4–5 holds at 60–70% of your max time |
| Seated straight-leg lifts | 3 × 8–10 |
| Support hold on bars or parallettes | 3 × 20–30 seconds |
- The usual limiter is compression strength and hamstring flexibility, not arm strength. Train the leg lifts every session.
- Parallettes or two sturdy chairs make it easier than the floor, because your hips have room to clear.
Pistol squat progression
The pistol squat progression goes bodyweight squat, split squat, Bulgarian split squat, box pistol, assisted pistol, then full pistol squat. Move on when you can do 3 sets of 8 reps per leg, and work on ankle mobility alongside it.
- Start when you can do
- Full-depth bodyweight squat
- Typical time
- 2–4 months
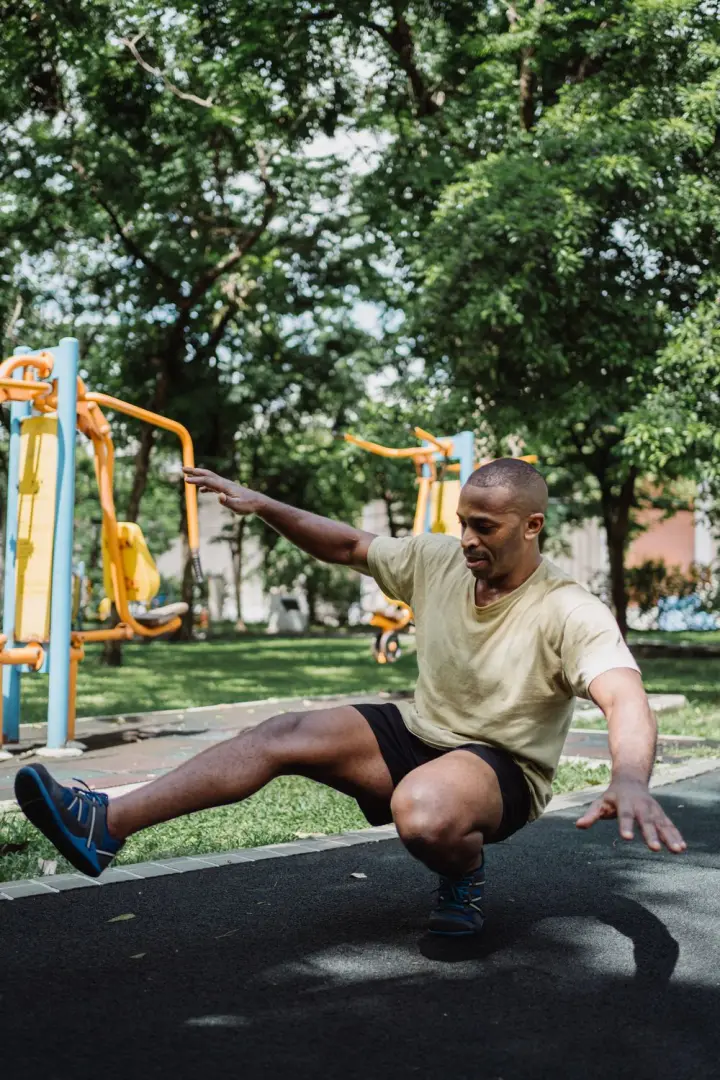
Pistol squat progression steps
- Bodyweight squat Hips below knees, heels down. Move on at3 × 8
- Split squat One foot forward, one back, lower the back knee to the floor. Move on at3 × 8 per leg
- Bulgarian split squat Back foot raised on a bench. Move on at3 × 8 per leg
- Box pistol Sit back to a box on one leg, stand up. Lower the box over time. Move on at3 × 8 per leg
- Assisted pistol Full depth while holding a post or band lightly. Move on at3 × 5 per leg
- Pistol squat Full depth, free leg straight in front. Move on atBuild to 3 × 5 per leg
Example pistol squat workout
| Exercise | Sets |
|---|---|
| Your current pistol step | 3 × 5–8 per leg |
| Slow single-leg lowering to a box | 2 × 3 per leg (5 seconds down) |
| Calf and ankle stretch | 2 × 30 seconds per side |
- If your heel lifts or you fall backward, ankle mobility is the limiter. Stretch the calves every session.
- Balance is half the skill. Slow lowering reps teach it faster than fast ones.
Handstand progression
The handstand progression goes chest-to-wall hold, wall balance drills, learning to bail, back-to-wall, kick-up, then freestanding holds. Hold 20 to 30 seconds for 3 or more sets at each wall stage before moving on, and practice in short sessions 3 to 4 times a week.
- Start when you can do
- Pain-free overhead shoulders and warmed-up wrists
- Typical time
- 2–4 months to first holds
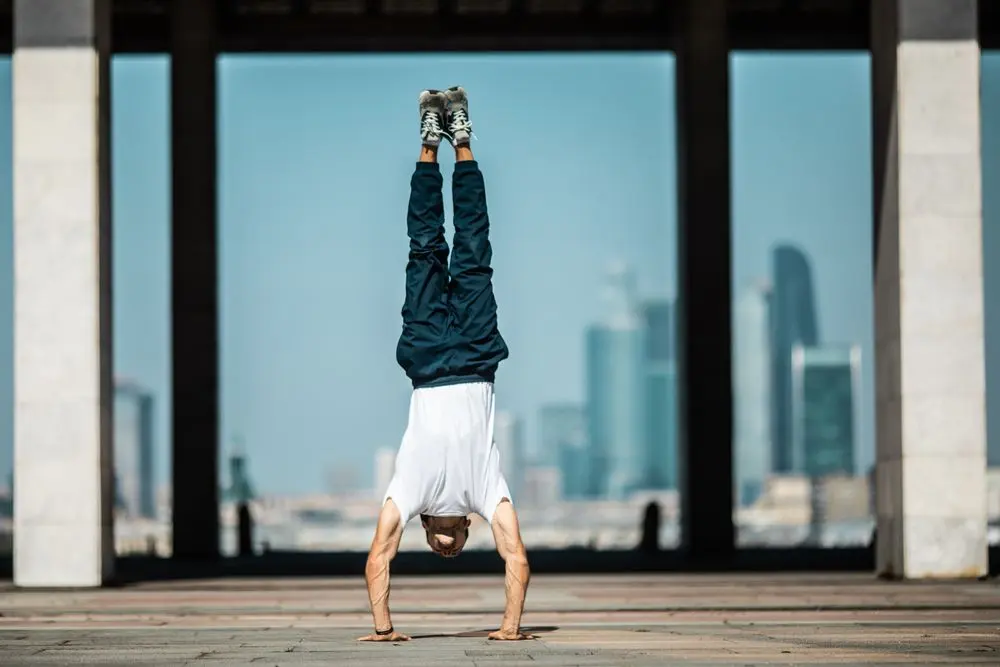
Handstand progression steps
- Chest-to-wall handstand Walk the feet up the wall, belly facing it, body in a straight line. Move on at3 × 20–30 seconds
- Wall balance drills From chest-to-wall, pull the toes off the wall and balance through the fingers. Move on at5 controlled reps
- Bailing Practice stepping or cartwheeling out, so falling is safe. Move on atConfident every time
- Back-to-wall handstand Kick up with your back to the wall, tap the heels off and balance. Move on at3 × 20–30 seconds
- Kick-up Kick up away from the wall and try to catch the balance. Move on atReach balance on most attempts
- Freestanding handstand Hold without support. Move on atBuild to 30 seconds
Example handstand workout
| Exercise | Sets |
|---|---|
| Wrist prep | 2 minutes |
| Chest-to-wall hold | 3 × 20–30 seconds |
| Toe pulls from the wall | 5 reps |
| Kick-up attempts | 10 attempts |
| Hollow body hold | 3 × 30 seconds |
- A handstand is mostly balance, so frequent short practice beats one long weekly session. Coaches describe it as needing thousands of repetitions.
- First holds come in a few months. A consistent hold on every attempt takes longer.
Muscle-up progression
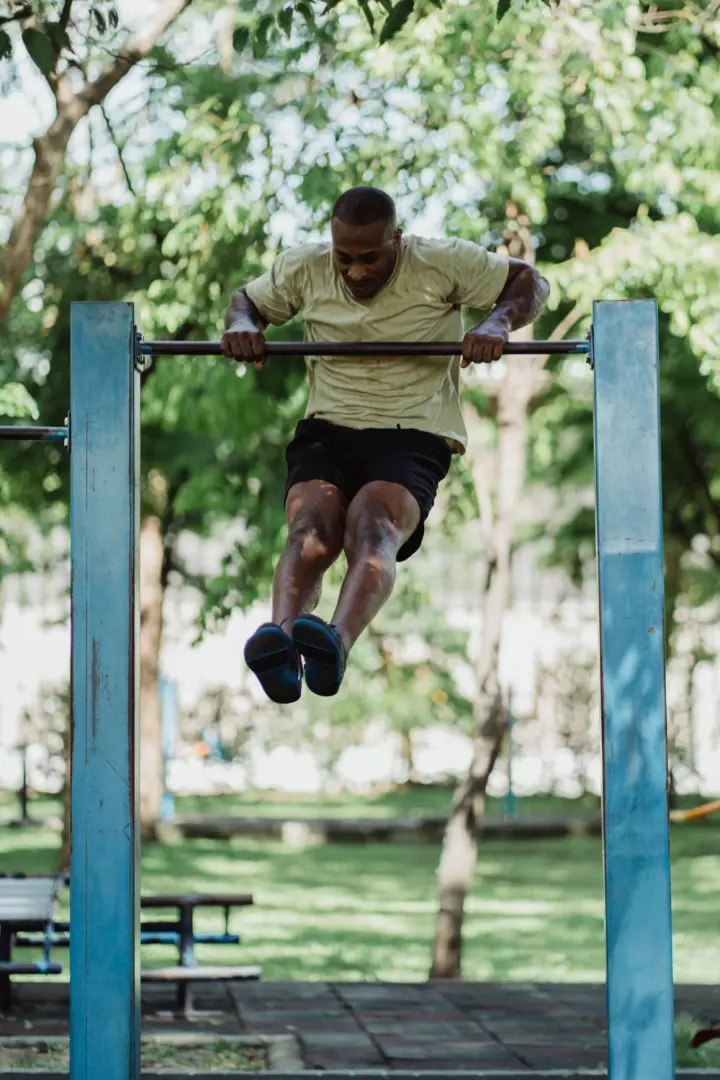
The muscle-up progression goes strict pull-ups and dips, chest-to-bar pull-ups, straight-bar dips, muscle-up negatives, band-assisted muscle-ups, then the full muscle-up. Start once you can do about 10 strict pull-ups and 8 or more dips.
- Start when you can do
- 10 strict pull-ups and 8+ dips
- Typical time
- 3–9 months
Muscle-up progression steps
- Pull-up and dip base Strict reps, full range. Move on at10 pull-ups, 8+ dips
- Chest-to-bar explosive pull-up Pull as fast and high as you can, touching the chest to the bar. Move on at3 × 5
- Straight-bar dip Dip on top of a single bar, chest leaning over it. Move on at3 × 8
- Muscle-up negative Start on top of the bar and lower slowly through the transition. Move on at3 × 3 (3–5 seconds each)
- Band-assisted muscle-up Loop a band over the bar and practice the whole movement. Move on at3 × 3–5 with a light band
- Muscle-up Pull, transition, press out. Move on atBuild to 3 × 3
Example muscle-up workout
| Exercise | Sets |
|---|---|
| Chest-to-bar explosive pull-up | 4 × 3–5 |
| Muscle-up negative | 3 × 3 |
| Band-assisted transition | 4 × 3 |
| Straight-bar dip | 3 × 6–8 |
- The transition is the hardest part. Pull toward your hips, not your chin, so the chest arrives above the bar.
- Keep explosive sets short. Once the pull slows down, the set is no longer training the muscle-up.
Front lever progression
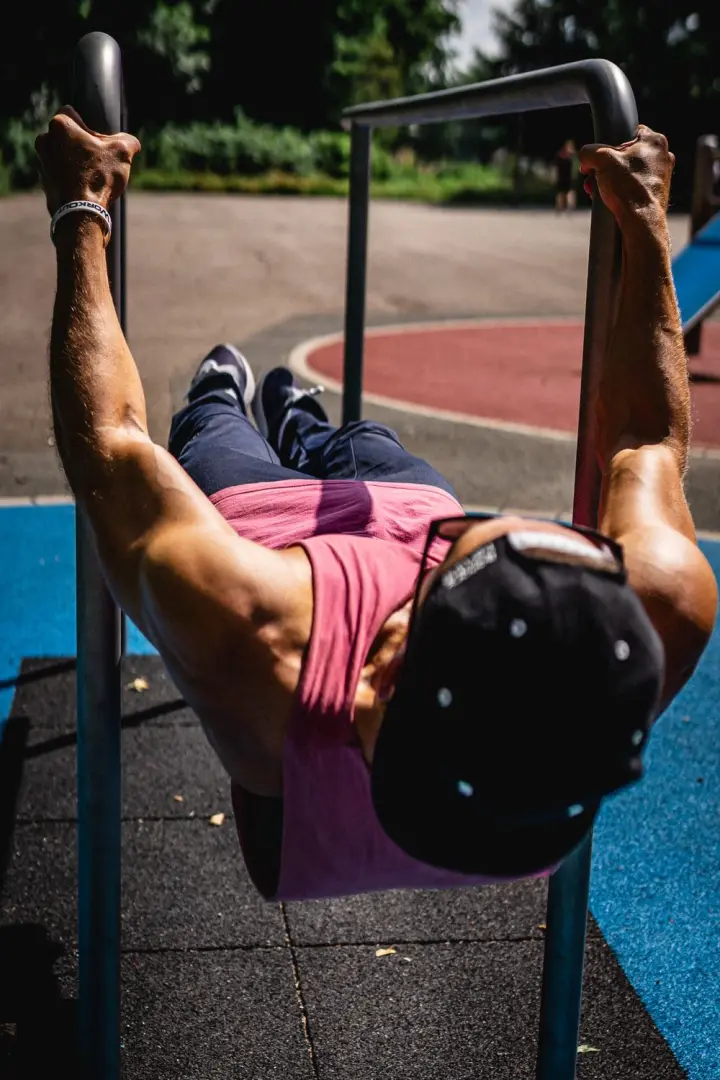
The front lever progression goes tuck, advanced tuck, one-leg, straddle, then full front lever. Train holds at 60 to 70% of your maximum hold time for several sets, and move to the next step once you can hold the current one for 10 to 15 seconds with a flat back.
- Start when you can do
- 10+ pull-ups and a strong hollow body hold
- Typical time
- 6–18 months
Front lever progression steps
- Tuck front lever Hang, pull the knees to the chest, raise the hips until the back is level. Move on at10–15 seconds
- Advanced tuck front lever Same position with the back flat and hips opened to 90°. Move on at10–15 seconds
- One-leg front lever One leg straight, one tucked. Move on at10 seconds per side
- Straddle front lever Both legs straight and wide apart. Move on at10 seconds
- Front lever Body straight and level, legs together. Move on atBuild to 10 seconds
Example front lever workout
| Exercise | Sets |
|---|---|
| Your current front lever hold | 4–5 holds at 60–70% of your max time |
| Front lever negative (next step) | 3 × 3 (5 seconds down) |
| Tuck front lever row | 3 × 5–8 |
| Hollow body hold | 3 × 30 seconds |
- Keep the arms straight and the shoulders pulled down. Bent arms turn it into a different exercise and hide a lack of straight-arm strength.
- Example: if your best tuck hold is 12 seconds, train 5 holds of about 8 seconds.
Planche progression
The planche progression goes planche lean, frog stand, tuck planche, advanced tuck, straddle, then full planche. It is the slowest of the common skills: the tuck comes within months, while a full planche usually takes 18 months to 4 years.
- Start when you can do
- 20+ push-ups and solid pseudo planche push-ups
- Typical time
- 18 months to 4 years
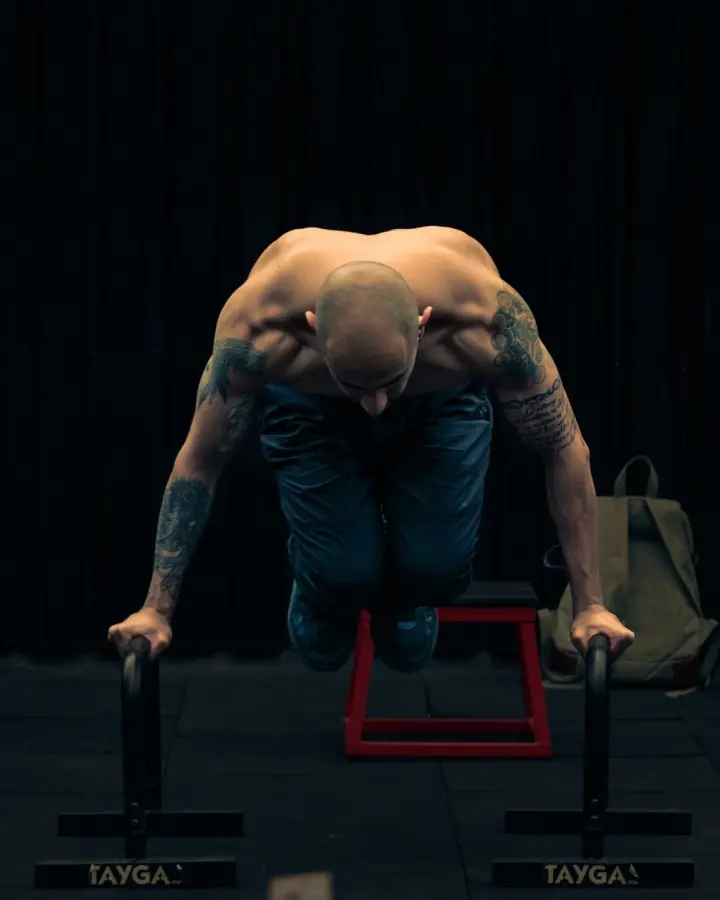
Planche progression steps
- Planche lean Push-up position, lean the shoulders well past the wrists, arms locked. Move on at3 × 20 seconds
- Frog stand (crow pose) Knees resting on the arms, feet off the floor. Move on at30 seconds
- Tuck planche Arms straight, knees to chest, feet off the floor. Move on at10–15 seconds
- Advanced tuck planche Back flat, hips opened. Often takes several months on its own. Move on at10–15 seconds
- Straddle planche Legs straight and wide. Move on at10 seconds
- Planche Body straight and level, legs together. Move on atBuild to 5–10 seconds
Example planche workout
| Exercise | Sets |
|---|---|
| Wrist prep | 3 minutes |
| Your current planche hold | 4–5 holds at 60–70% of your max time |
| Planche lean | 3 × 20 seconds |
| Pseudo planche push-up | 3 × 5–8 |
- Wrists, elbows and biceps tendons take a high load. Progress in small steps: lean a little further or open the hips slightly, instead of jumping a whole stage.
- Push the shoulder blades apart (protraction) on every hold.
A beginner weekly plan
A simple way to train several progressions together is a full-body session three days a week. Do the handstand practice first while you are fresh, then the strength work.
| Exercise | Sets |
|---|---|
| Warm-up: wrists, shoulders, scapular pulls | 5 minutes |
| Handstand practice | 5–10 minutes |
| Your pull-up step | 3 × 5–8 |
| Your pistol squat step | 3 × 5–8 per leg |
| Your push-up step | 3 × 5–8 |
| Rows under a low bar | 3 × 5–8 |
| Your L-sit step | 4–5 holds |
Once you can do 10 strict pull-ups, add the muscle-up or front lever work at the start of the session. This structure follows the widely used r/bodyweightfitness Recommended Routine. Want a full week built around your level, equipment and schedule? Use the free calisthenics workout plan generator.
Common questions
What calisthenics skills should I learn first?
Start with the push-up, pull-up, L-sit and pistol squat, and practice the handstand alongside them. They build the pushing, pulling, core and leg strength every later skill depends on. Move to the muscle-up and front lever once you can do about 10 strict pull-ups, and leave the planche for last.
What is the order of calisthenics skills from easiest to hardest?
A practical order is: push-up, pull-up, L-sit, pistol squat, handstand, muscle-up, front lever, planche. The first five are beginner skills that most people reach within 3 to 6 months, the muscle-up and front lever usually take 6 to 18 months, and a full planche takes 18 months to 4 years.
How many calisthenics skills should I train at once?
Two or three. Pick one pushing goal, one pulling goal and optionally a balance skill such as the handstand. Training more than that at once spreads your recovery too thin and slows all of them down.
How often should I train calisthenics skills?
Train strength-based skills such as the front lever, planche and muscle-up two to three times a week with a rest day between sessions. Balance skills such as the handstand improve faster with short practice three to four times a week.
How long does it take to learn calisthenics skills?
Coaches' typical estimates with consistent training are: L-sit 4 to 8 weeks, pistol squat and first handstand holds 2 to 4 months, muscle-up 3 to 9 months, front lever 6 to 18 months, and full planche 18 months to 4 years. Bodyweight, training history and consistency change these numbers a lot.
How many pull-ups do I need for a muscle-up?
About 10 strict pull-ups and 8 or more dips is the usual starting point. Just as important is height: you should be able to pull explosively enough to touch your chest to the bar for a few reps.
How many pull-ups do I need for a front lever?
Around 10 strict pull-ups plus a solid hollow body hold is a good point to begin the tuck front lever. More pull-ups help, but the front lever is limited by straight-arm strength, so you have to train the lever positions themselves.
Which is harder, the front lever or the planche?
The planche is harder for most people. A full front lever typically takes 6 to 18 months, while a full planche typically takes 18 months to 4 years and puts more stress on the wrists and elbows.
When should I move to the next progression step?
For rep-based exercises, move on when you can do 3 sets of 8 clean reps. For holds, move on when you can hold the position for 10 to 15 seconds on hard skills like the front lever and planche, or 30 seconds on easier ones like the L-sit. If the next step breaks your form, stay where you are a little longer.
Can I learn these skills at home?
Yes. A pull-up bar covers the pull-up, muscle-up and front lever, and the push-up, L-sit, pistol squat, handstand and planche need only floor space and a wall. Parallettes help the L-sit and planche but are optional.
Is there an app for calisthenics progressions?
Yes. Calitracker is a free calisthenics tracker for iOS and Android with handcrafted progression plans for skills such as the muscle-up, front lever, planche and L-sit. It has a hold timer for static skills, 700+ exercises and a custom routine builder, with no ads on the free plan.
Sources
- r/bodyweightfitness. Recommended Routine: pull-up, push-up, L-sit and squat progressions. Recommended Routine.
- Low S. Prilepin tables for bodyweight strength, isometric and eccentric exercises (hold times at 60–70% of max; eccentric guidance). stevenlow.org.
- Kotarsky CJ, et al. (2018). Effect of Progressive Calisthenic Push-up Training on Muscle Strength and Thickness. Journal of Strength and Conditioning Research, 32(3), 651–659. PubMed.
- Sánchez-Moreno M, et al. (2020). Effects of Velocity Loss During Body Mass Prone-Grip Pull-up Training on Strength and Endurance Performance. Journal of Strength and Conditioning Research, 34(4), 911–917. Abstract.
- Handstand Factory for GMB Fitness (2024). Freestanding handstand tutorial (wall stages, 20–30 second targets). gmb.io.
- GMB Fitness. L-sit progression (5 to 30 second holds per step). gmb.io.
- Dewar M. (2023). Muscle-up steps and prerequisites. BarBend. BarBend.
- Nolan J. (2026). Calisthenics skills: prerequisites and typical timelines. Gymnase Tips.
- Alonso Y. (2026). Learn calisthenics tricks in the right order. Calisteniapp.
- Antranik. Progression exercises for static holds (planche and lever stages). antranik.org.
- Breaking Muscle. How to start calisthenics training (choosing 2–3 goals, weekly frequency). Breaking Muscle.
This guide is general training information, not medical advice. Stop if a movement causes joint pain, and build up wrist and elbow loading gradually.